The first clip I researched was how to add credits/titles. The first thing I learnt whilst watching this clip is what the three different types of titles were ranging from default still, default roll and default crawl. After giving definitions of them all it helped me decide which one I wanted to choose when editing my film. After this I then learnt how to change the font, size and spacing of the title to make your movie more appealing and appropriate for your type of genre. Here I would use the font I have chosen which is Felix Titling as our group found that is was most successful with the genre horror. Further on in this clip he continues about the text of the title, I learnt how to place this title onto your chosen background getting the final look of our title.
The second clip I looked at was how to add transitions, I decided to look at this clip because I wanted to get a better insight into how to make my movie seamlessly cut from one scene to another; the way I do this could help create tension and suspense which is the main aim until we reach the climax. I learnt about a variety of transitions such as: cross dissolve, center split, cube spin, flip over and many more. After this I then learnt how to apply this by taking your clips and trimming off each one allowing the transition to be smoothly cut. The next step would be to pick your chosen transition and place it in the center where these two clips meet, then adjusting the transitions lengths to suit your film and that is the final of how to add transitions successfully.
Tuesday, 27 January 2015
Online tutorials for Adobe
For our film I decided to research online tutorials which helps you to understand how to add different effects and slides to your movie. By doing this it helps make your movie look more advanced and will help me achieve a higher grade.
Monday, 12 January 2015
Location Research

 create everything to be more spooky as the audience do not know what is about to happen around each corner as the camera tracks the breathless victim running for her life.
Here is the second pathway that we chose to film on, this is connected to the image above however leads to a main road which could give the audience hope that there is a chance of survival. In the filming we plan to have the scene where she is so close to safety but he finally grabs her. However, this leads to a bit of action where the victim then escapes again creating a roller coaster of emotions for the audience and with the up beat music help creating extreme amounts of suspension and adds enigmas. Will she escape?
Props: The Villain
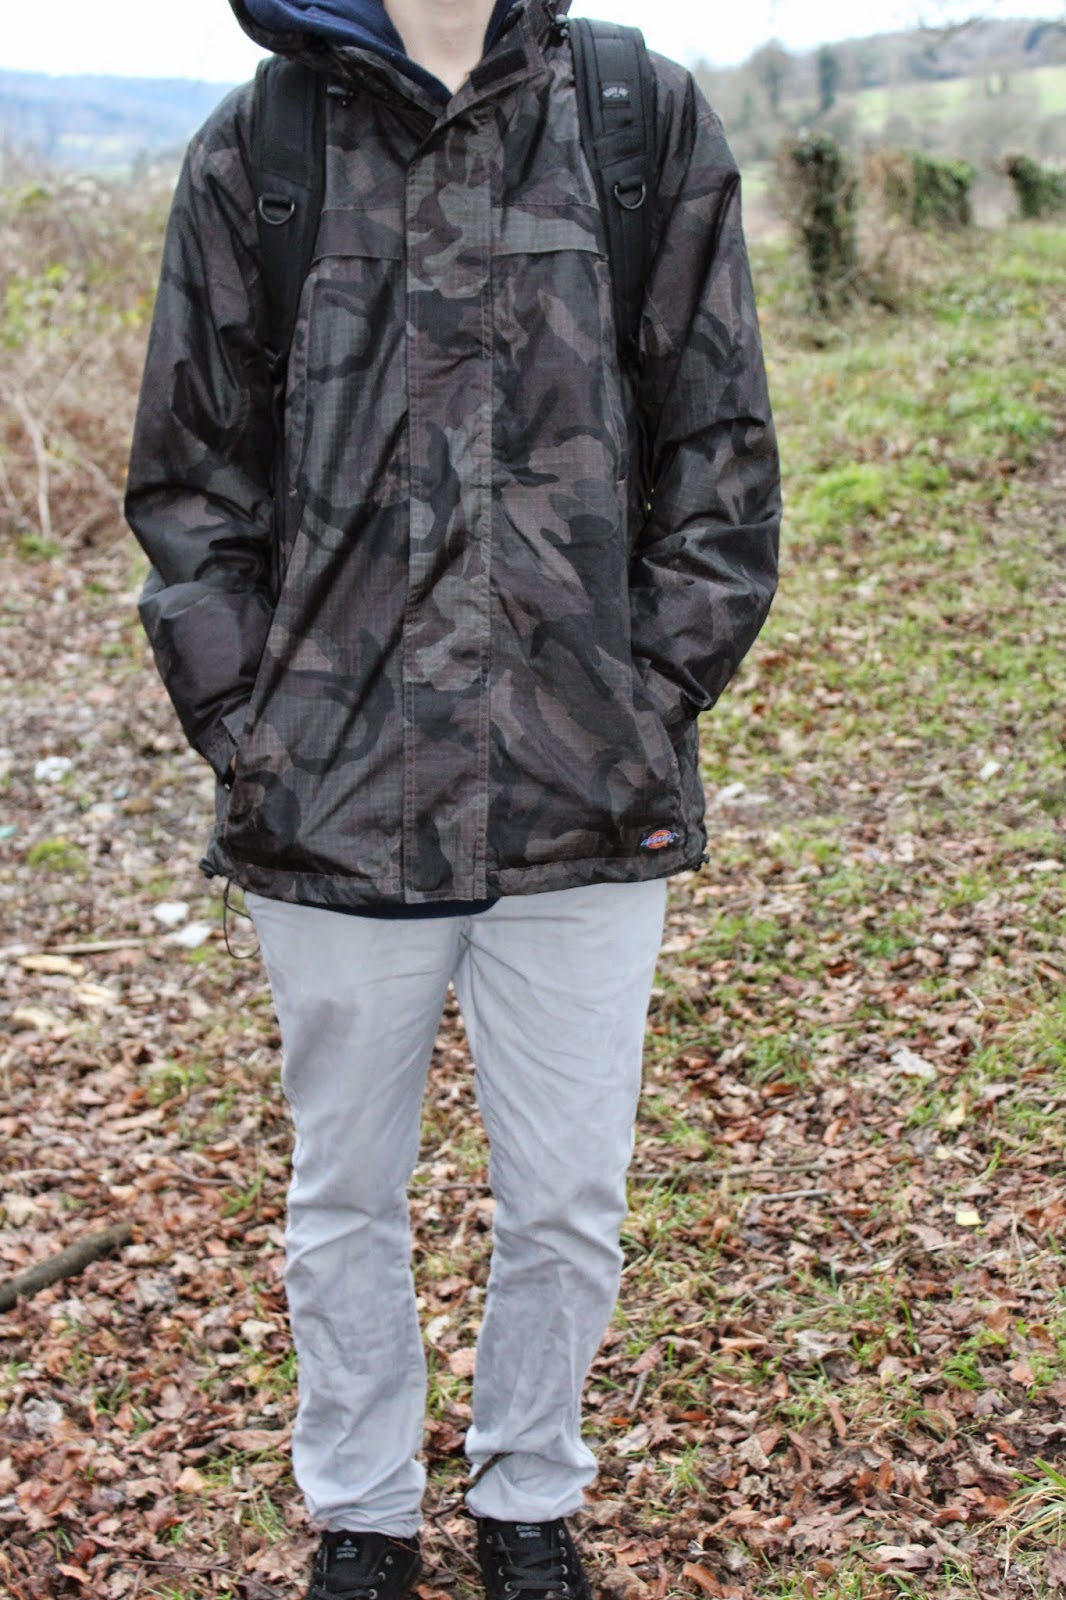
As you can see this is the antagonist, he is wearing simple and dark clothing with his hood up covering his face, making him look creepy but not too suspicious making the audience begin to think instead of predicting the whole trailer before any action was introduced. His hands being placed in his coat is effective as it doesn't give away any type of identity being mysterious. The dark clothing gives a more negative atmosphere as overall makes the antagonist look dark and gloomy. The bag then could add suspense when the audience is watching as they could use their imagination to image what could possibly be in this antagonists bag.

Props: The Victim


Thursday, 8 January 2015
Saturday, 3 January 2015
Diary Of Filming
We have planned in advance as a group the dates we are going to film our opening scene. By planning in advance it means we will be organised and efficient. giving out roles will make the process of filming a lot more easier and fun.
Day 1: 28th December 2014
Today will be our first day of filming, we plan to start filming at 3.00pm and will try and film as much as possible before it gets dark. Before we start filming we will give our actors details on what to do and how to act. We plan to film shots more than once to give ourselves options of choosing which shot is the most effective. I will be in charge of using the camera, Carly will be in charge of the storyboard, and Lydia will be in charge of organising props and the actors costumes.
Day 2: 3rd January 2015
Unfortunately my camera battery ran out of charge and so we had to film again. luckily we had left this date open in case filming extra shots was needed for our opening scene. We all met again at around 3.30pm and filmed the remaining shots. we were all given the same roles as before and managed to work efficiently and successfully. When going back to class we will have more than enough shots to use for our editing process.
Subscribe to:
Posts (Atom)